Luscious Gluten-free Lemon Bars
There is something magical about a really good lemon dessert. That bright, sunny flavor somehow manages to taste like spring, summer, and happiness all at the same time. And these gluten-free lemon bars? They are hands-down one of my favorite treats to make when I want something simple, impressive, and dangerously easy to keep eating.
Seriously. If you've ever thought, "I'll just have one little square," prepare yourself. These Luscious Gluten-Free Lemon Bars have a sneaky way of disappearing before you even realize what's happening. 🍋🍋🍋
Published Oct. 20, 2023

I've been making versions of lemon bars for years, and finding a gluten-free recipe that doesn't taste gluten-free can sometimes feel like searching for a unicorn. Too often the crust is dry, crumbly, or tastes suspiciously like cardboard. Thankfully, these bars are none of those things.
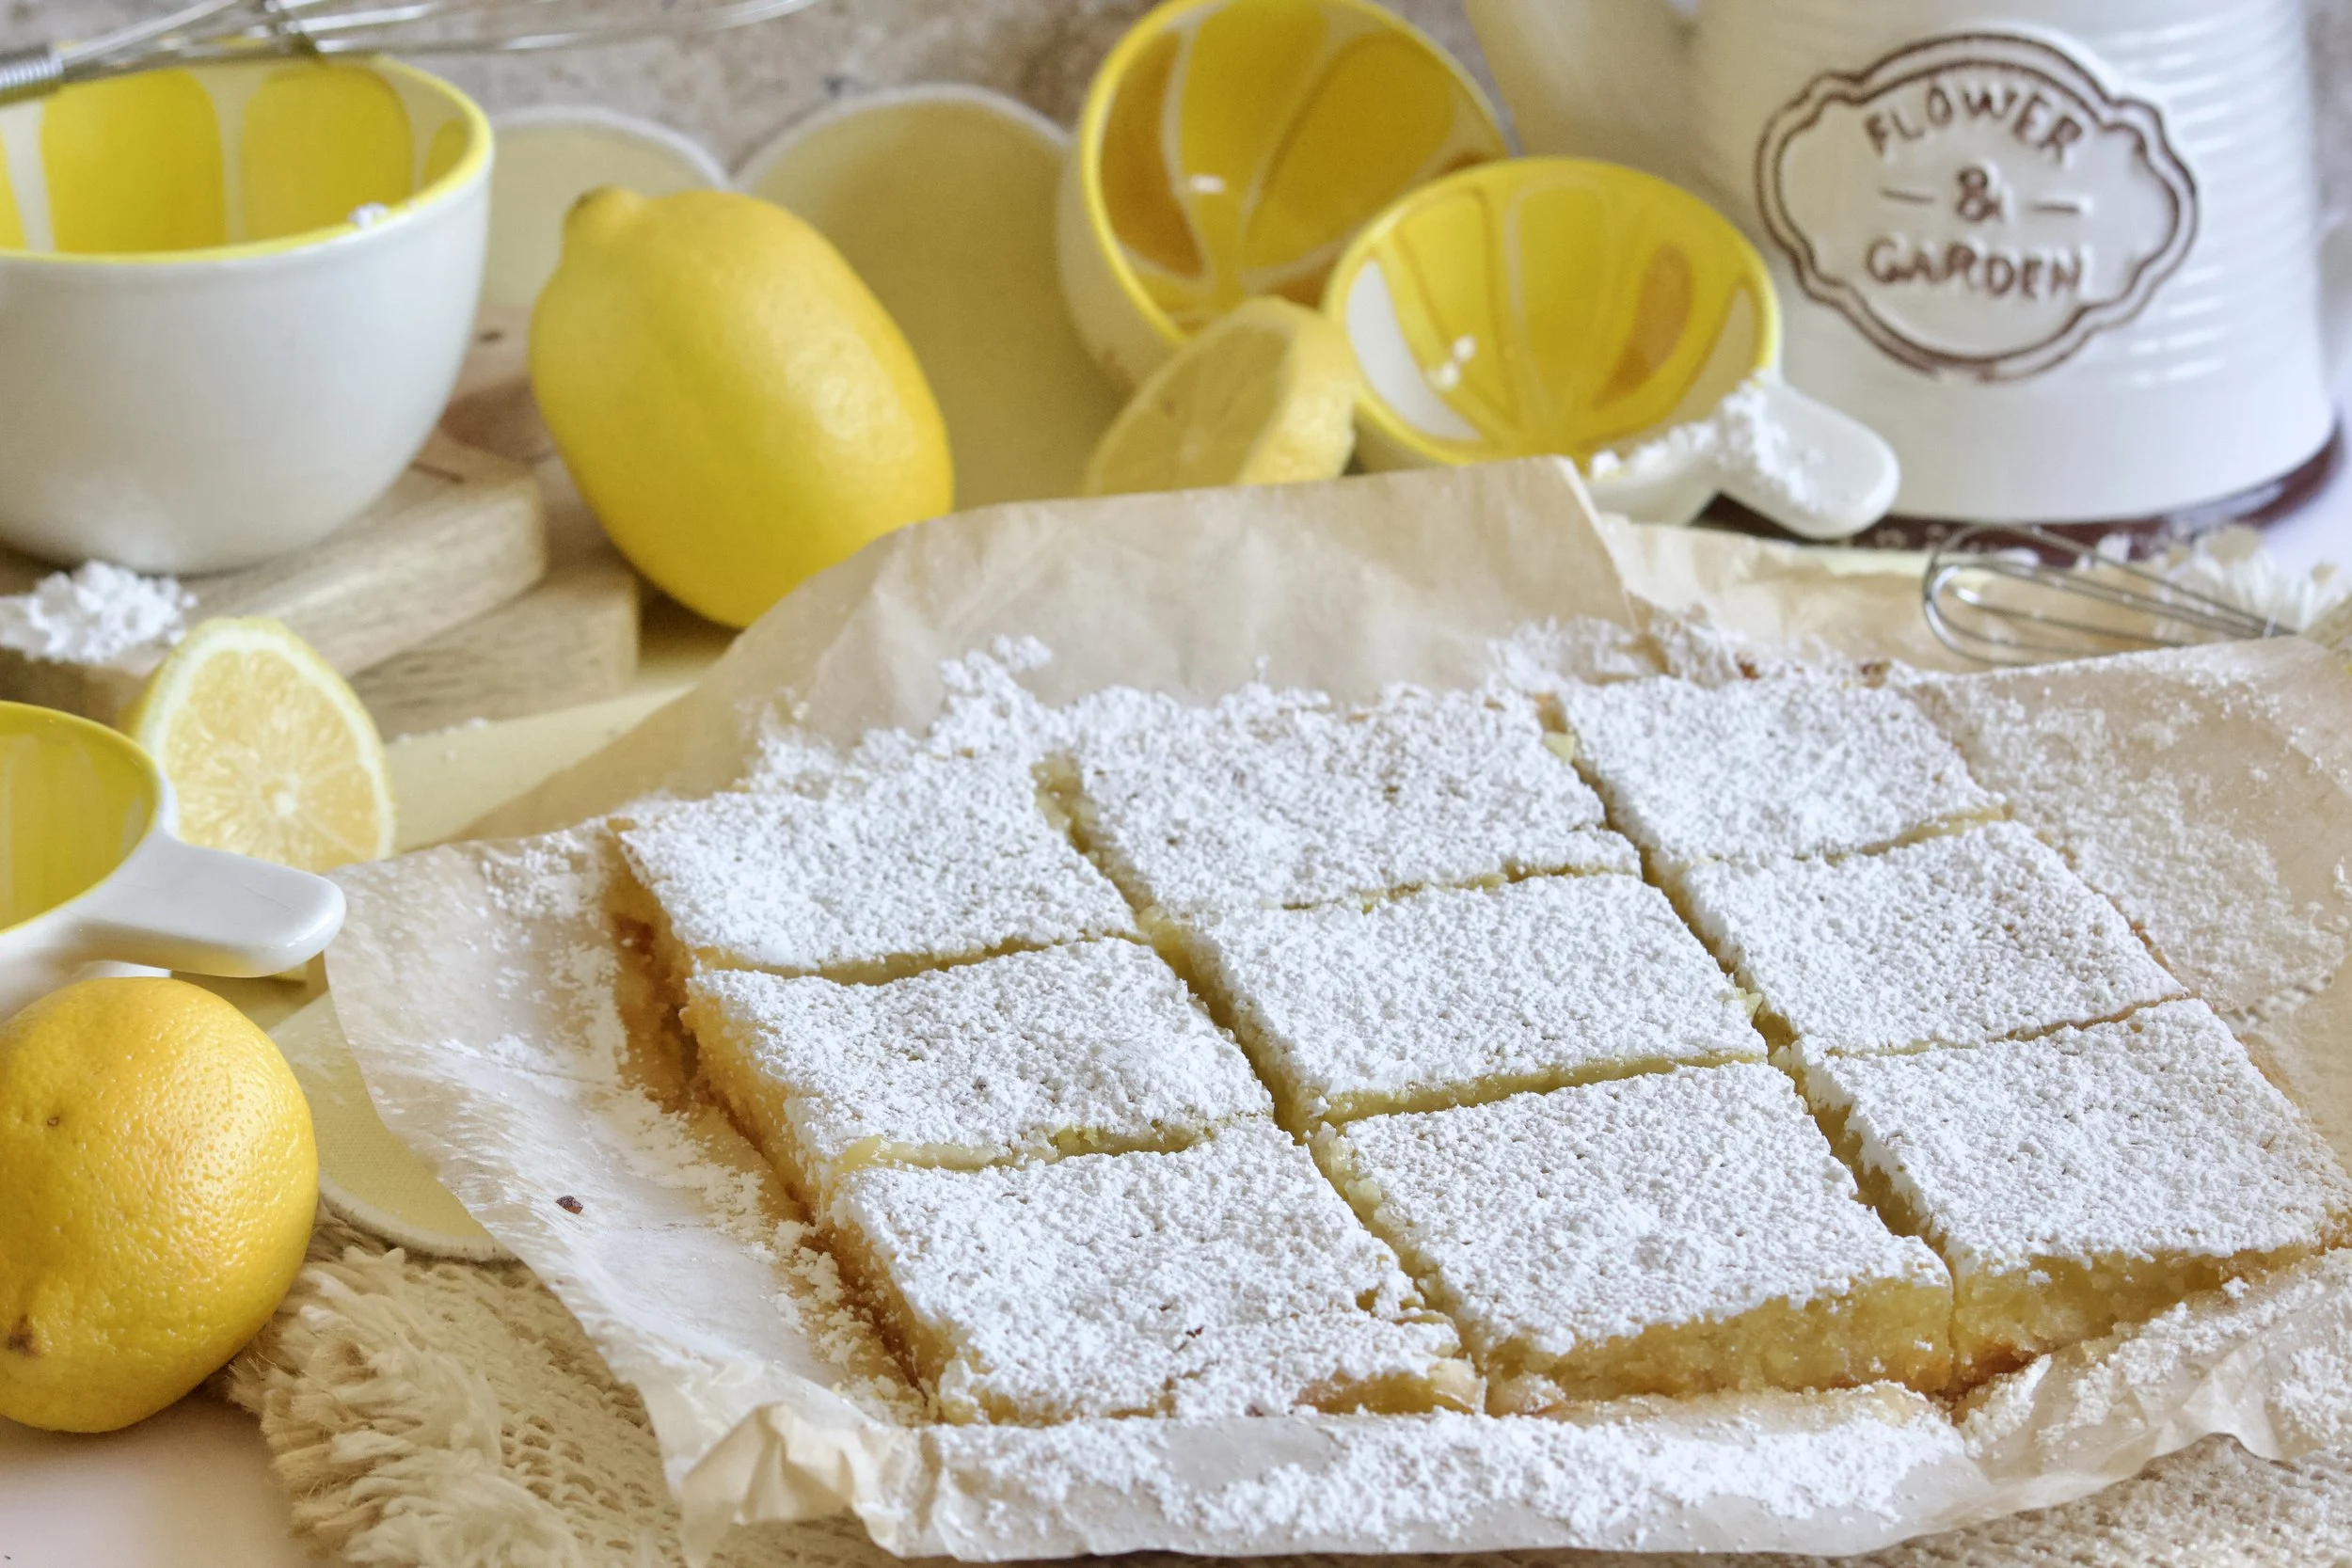
The crust is buttery and tender, the filling is perfectly tangy and sweet, and the whole thing comes together with ingredients you may already have in your kitchen. The result is a dessert that tastes like it came from a bakery display case—except you get to eat the scraps while cutting the bars, which is one of the greatest privileges of being the baker.
Why You'll Love These Lemon Bars
There are a lot of lemon bar recipes floating around out there, but this one should be your go-to for several reasons:
The crust stays buttery and tender without falling apart.
The filling is bright and lemony without being overwhelmingly sour…just a little baby pucker!
Nobody can tell they're gluten-free.
They're perfect for holidays, baby showers, picnics, brunches, or random Tuesday afternoons.
They look fancy even though they're surprisingly simple to make.
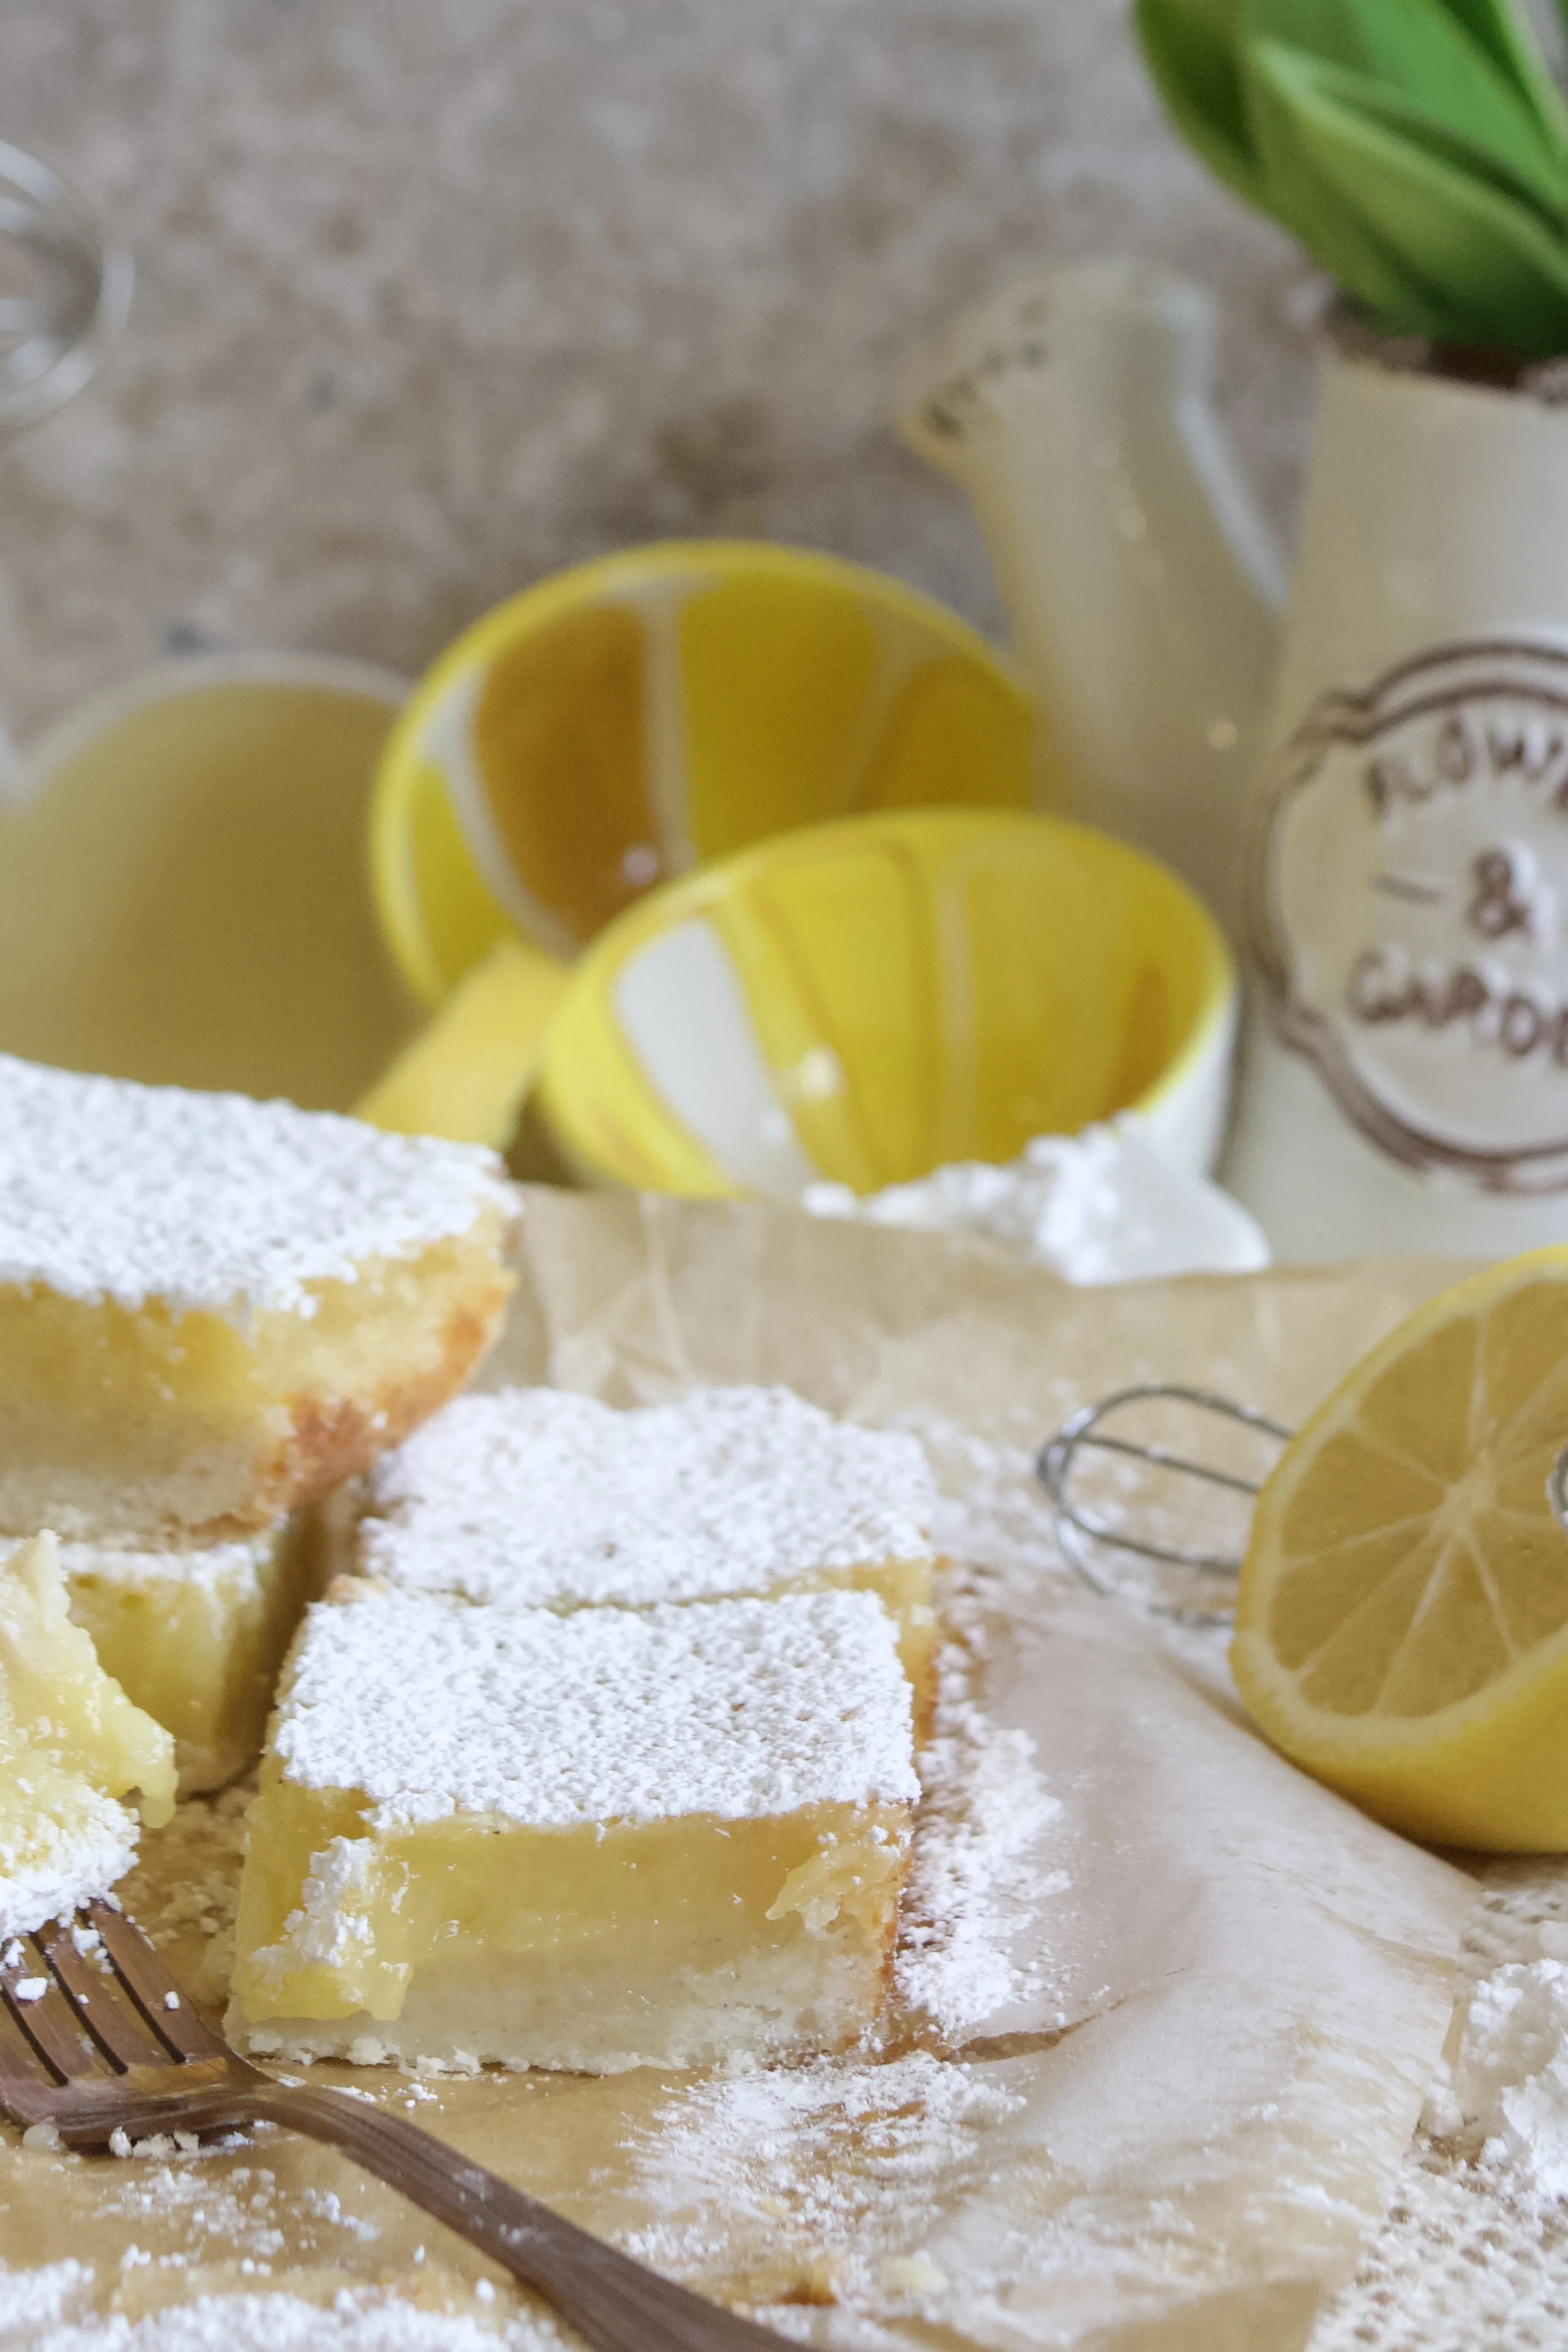
Powdered sugar on top makes everything feel more professional.
And honestly? Anything covered in powdered sugar automatically looks like you spent far more effort than you actually did. I swear that’s why French toast always looks so good 🤣
The Secret to Incredible Lemon Flavor
One of my favorite little tricks in this recipe happens before the filling even comes together.
Instead of simply tossing the lemon zest into the bowl, you'll rub the zest into the sugar with your fingers. It might seem like a tiny step, but it's absolutely worth it.
As you rub everything together, the oils from the lemon zest release into the sugar, creating the most incredible citrus aroma. Every single time I do this, I end up standing in my kitchen for a few seconds just smelling the bowl like some kind of lemon-obsessed weirdo.
Let's Talk About the Crust
A good lemon bar lives or dies by its crust.
The filling gets all the attention because it's bright and shiny and beautiful, but the crust is the unsung hero of the entire operation. Without it, you'd basically just be eating lemon curd, but honestly, now that I’m thinking about it as I sit here typing, that doesn’t sound so horrible, lol.
The crust starts with a gluten-free flour blend (we use Bob’s RedMill for this one), powdered sugar, granulated sugar, butter, vanilla, and a little salt. The cold butter is key here. When pulsed together in the food processor, it creates a rich, buttery base that bakes up tender and sturdy enough to support the filling.
After pressing it into the pan, you'll chill it briefly before baking. This quick refrigerator break helps the crust hold its shape and bake more evenly.
A Filling That's Sweet, Tart, and Perfectly Balanced
The filling is where the magic really happens.
Fresh lemon juice provides that bright, zingy flavor we all love, while the eggs create the silky texture that makes lemon bars so irresistible. A little cornstarch and gluten-free flour help everything set beautifully without becoming rubbery. Pour the filling into the pan and pop it into your preheated oven.
About thirty minutes later, you'll pull a pan of golden lemon perfection from the oven and suddenly feel like you belong on a baking show. My mom always says I look like I’m on GBBS when I sit in front of the oven waiting for these to bake 😆
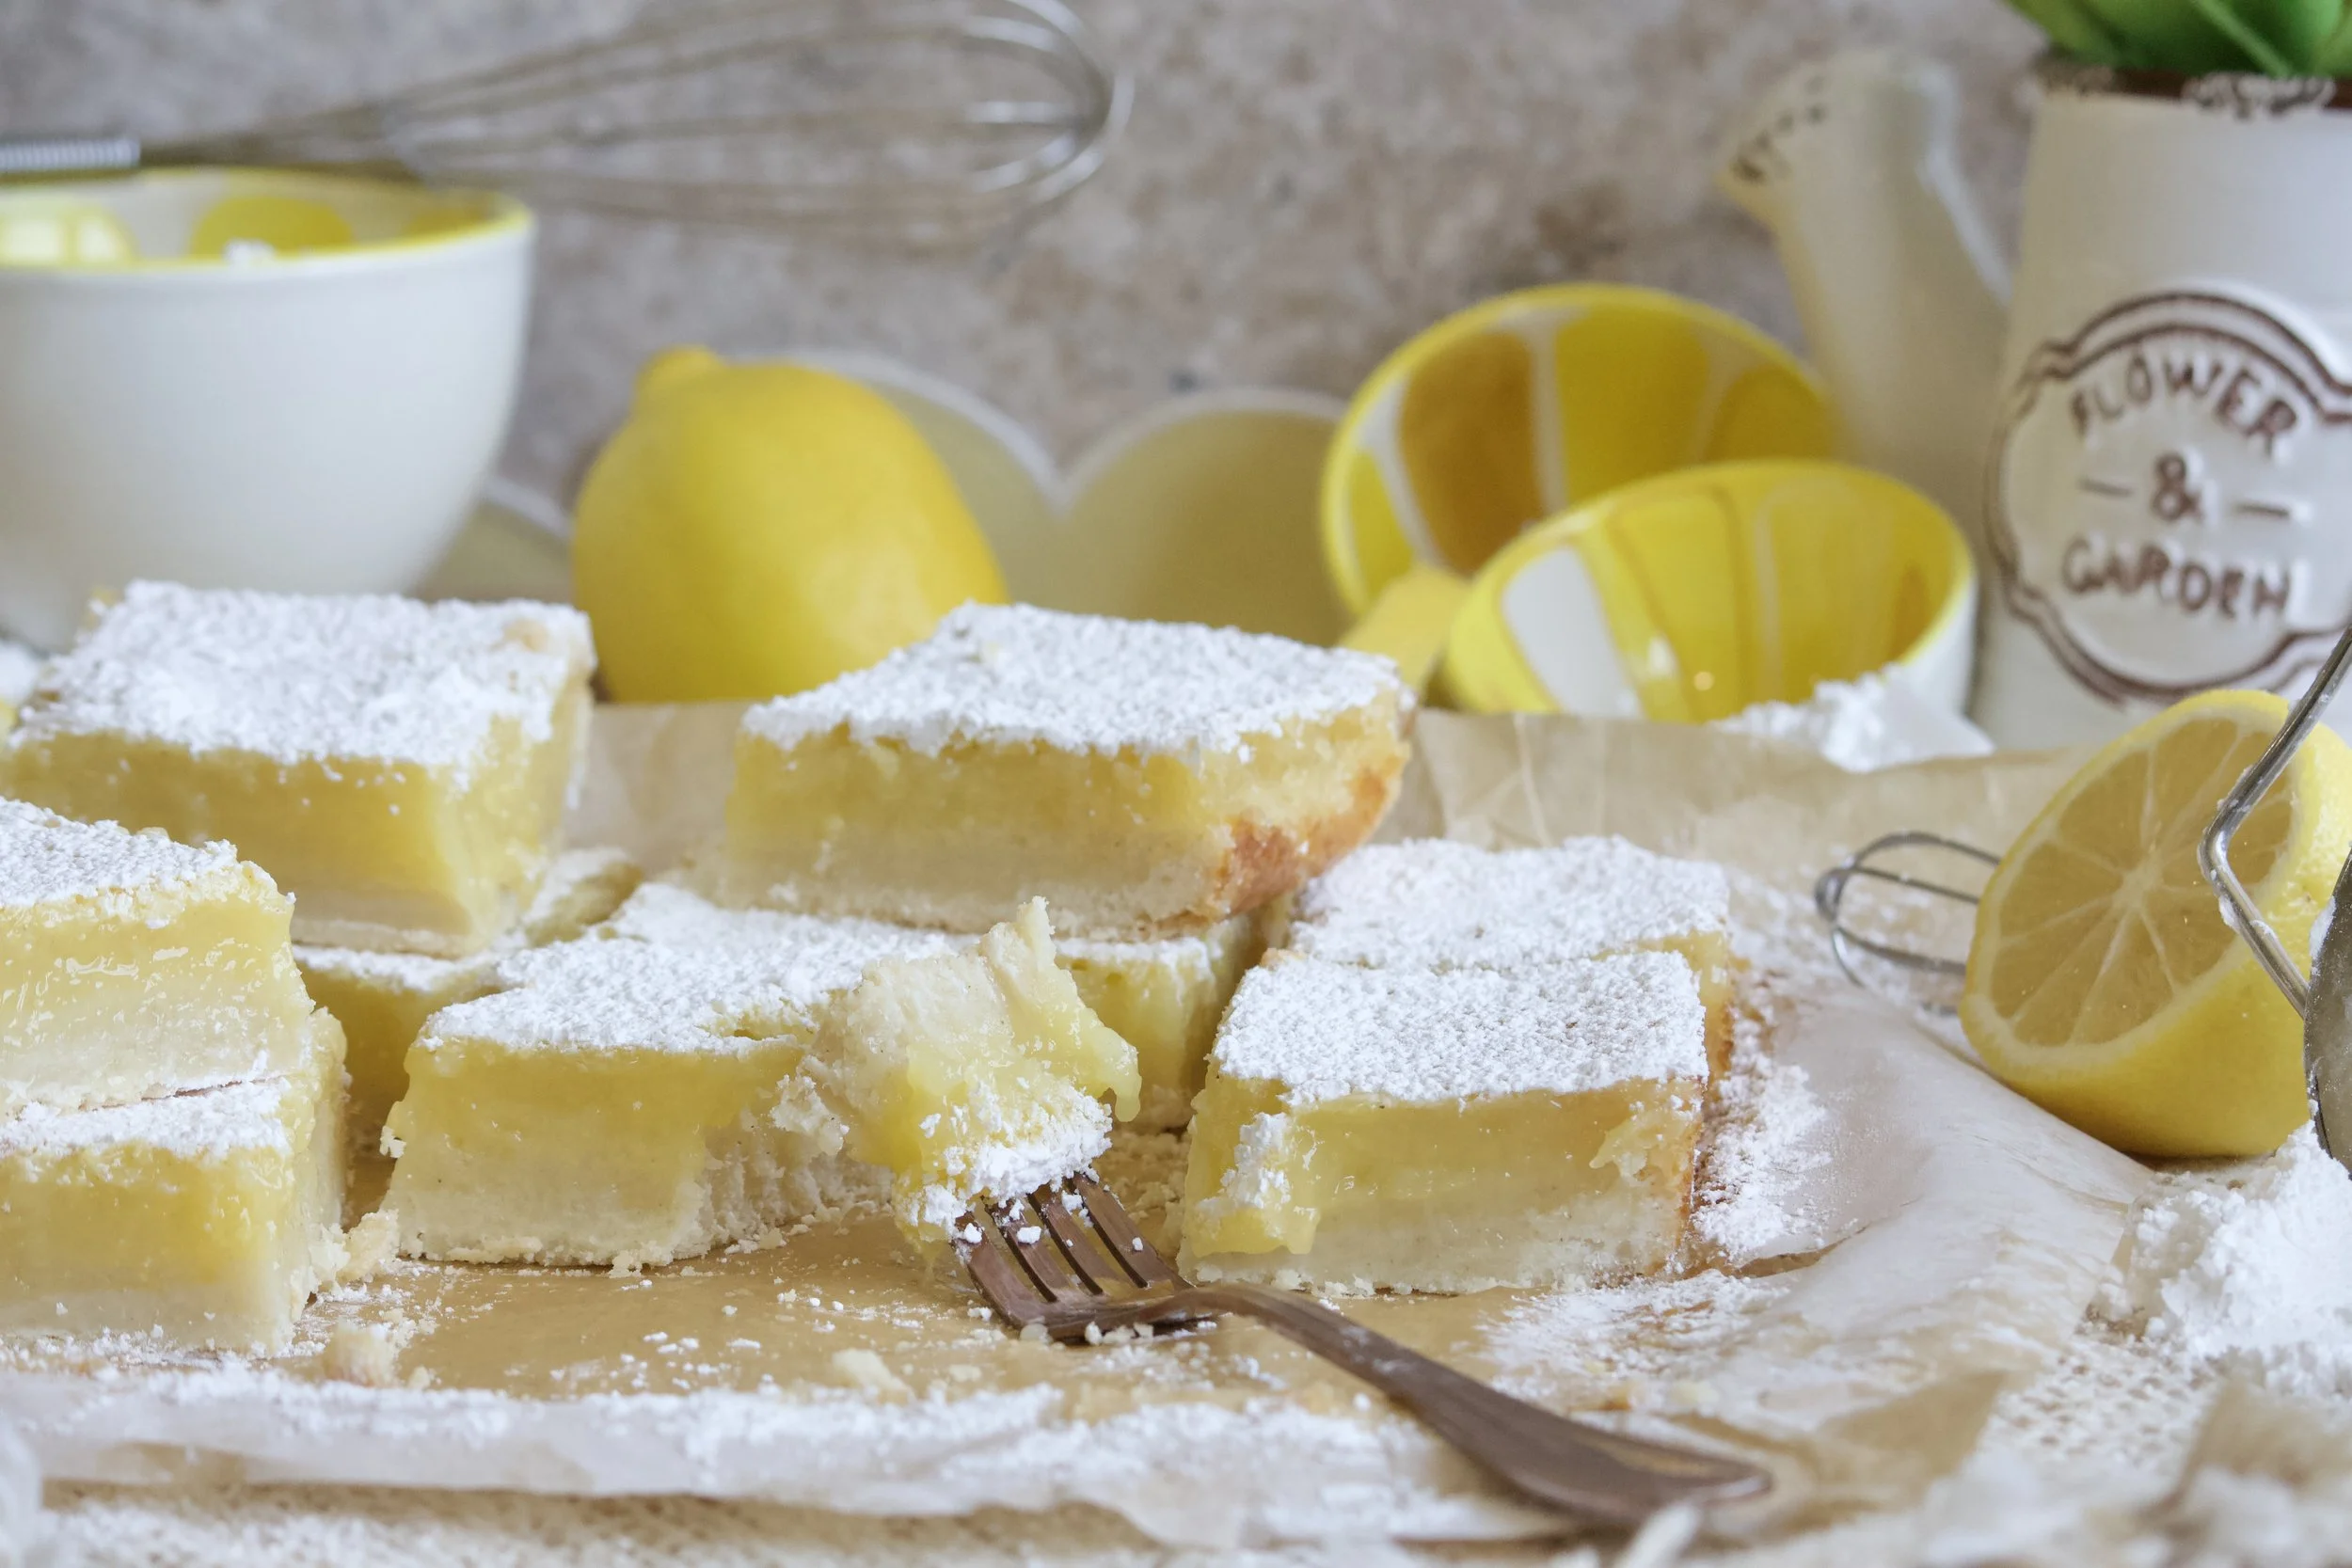
The filling should be completely set with no jiggle in the center. A gentle press on top should spring back slightly. That's your sign that dessert greatness has arrived.
The Hardest Part
Waiting.
I wish I had a more exciting baking secret to share, but honestly the hardest part of making lemon bars is letting them cool completely. The smell will fill your kitchen. You'll be tempted.
You'll convince yourself that one warm corner piece won't hurt.
You will be wrong.
Warm lemon bars tend to fall apart and turn into a delicious but messy situation. Letting them cool completely allows everything to set properly and gives you those beautiful, clean squares.
Patience may be a virtue, but it's an especially difficult virtue when lemon bars are involved. So, LET. THEM. SET!
Let the baking begin!

TIPS AND TRICKS:
- Always preheat your oven.
- All refrigerated ingredients must be room temperature unless stated otherwise.
- Be sure to only LIGHTLY poke holes in the crust and not go all the way through to touch the pan beneath it.
- Fresh lemon juice always provides a better flavor in comparison to the bottled juice.